PayPal is a fast, secure way to send and receive money. For businesses, it is a payment system you can use for your online store to get paid online for your products or services. PayPal is accepted in 190 countries and covers 19 different currencies. Getting a PayPal Business Account is FREE and It takes just minutes to sign up!
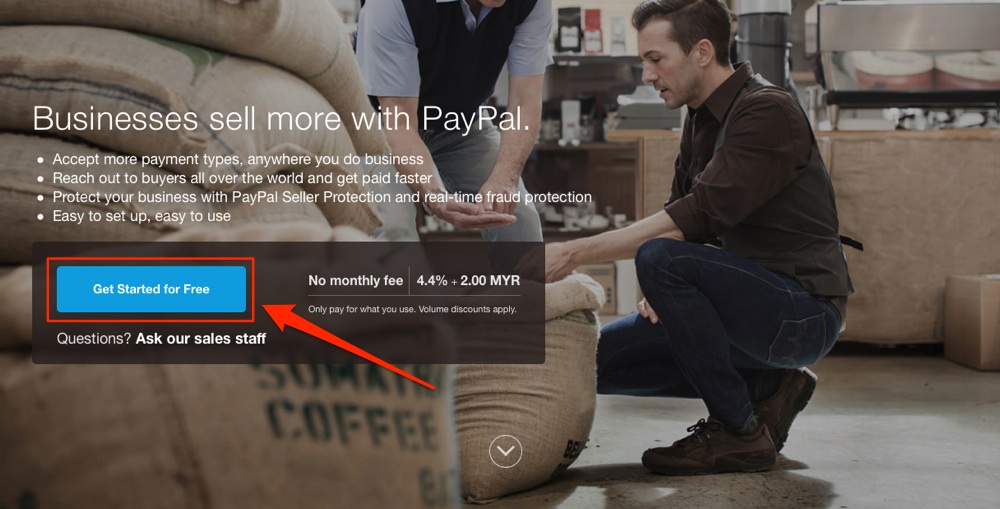
Click here to sign up a PayPal Business Account. On PayPal Website, click on "Get Started for Free".
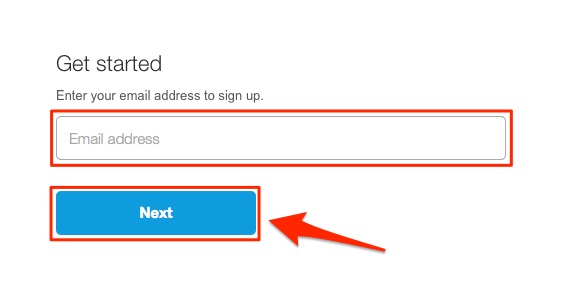
Enter your business email address.
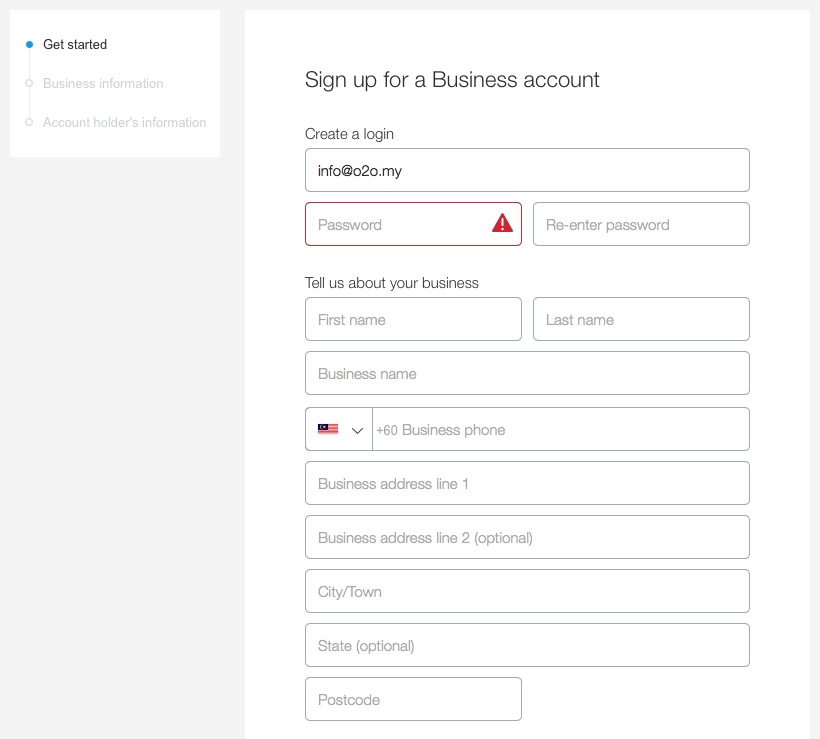
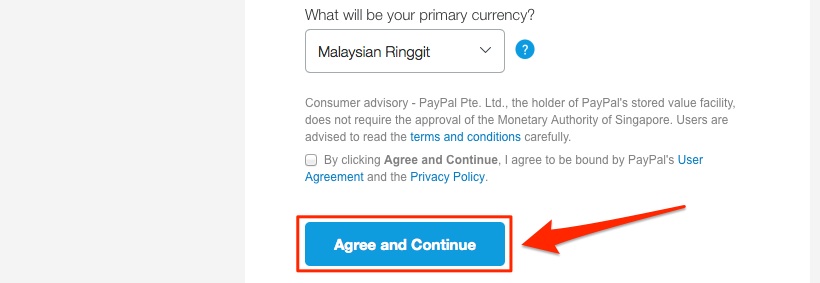
Fill in your Business Account Information. Once you're done, click on "Agree and Continue".
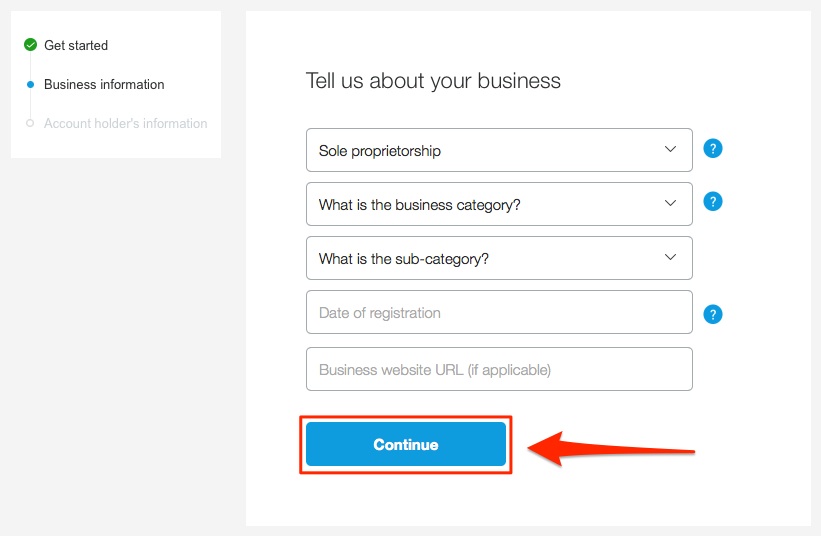
Fill in your business information and click "Continue". Fill in your personal information and finalize the registration.
Click on "My PayPal".

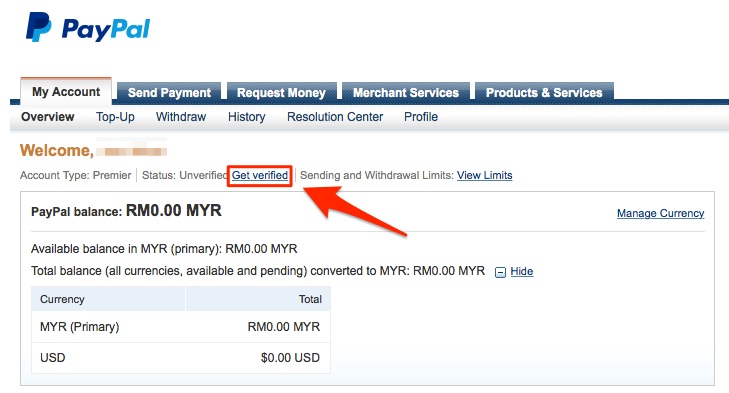
Click on "Get verified".
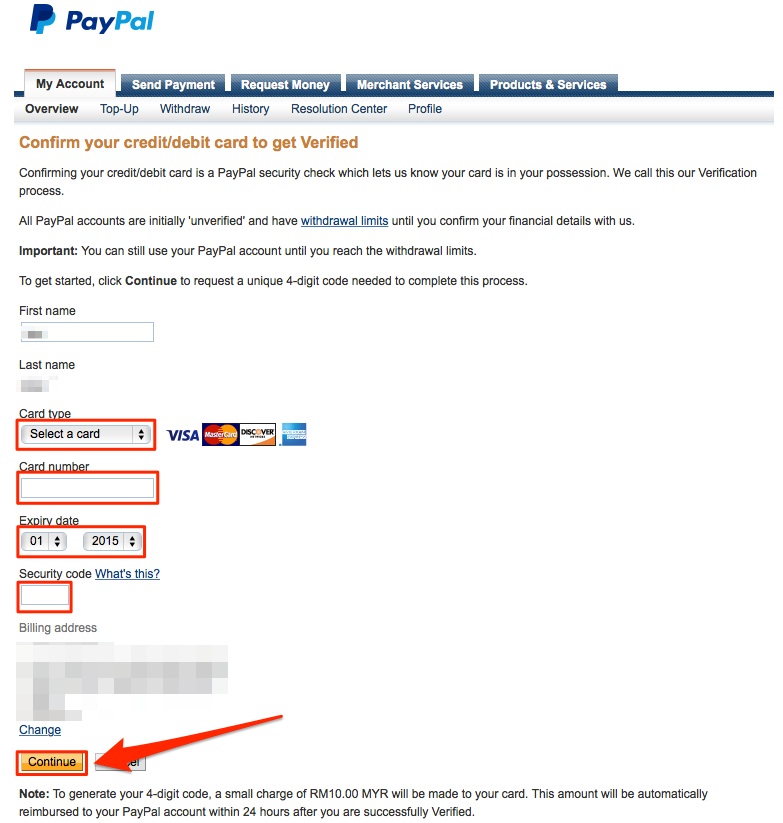
Fill in your credit card details and click "Continue". PayPal will send a unique 4-digit code via SMS. Once you get the code, go back to PayPal account page to verify your account.
Now that you have created your PayPal Account. You can setup your site's payment gateway.
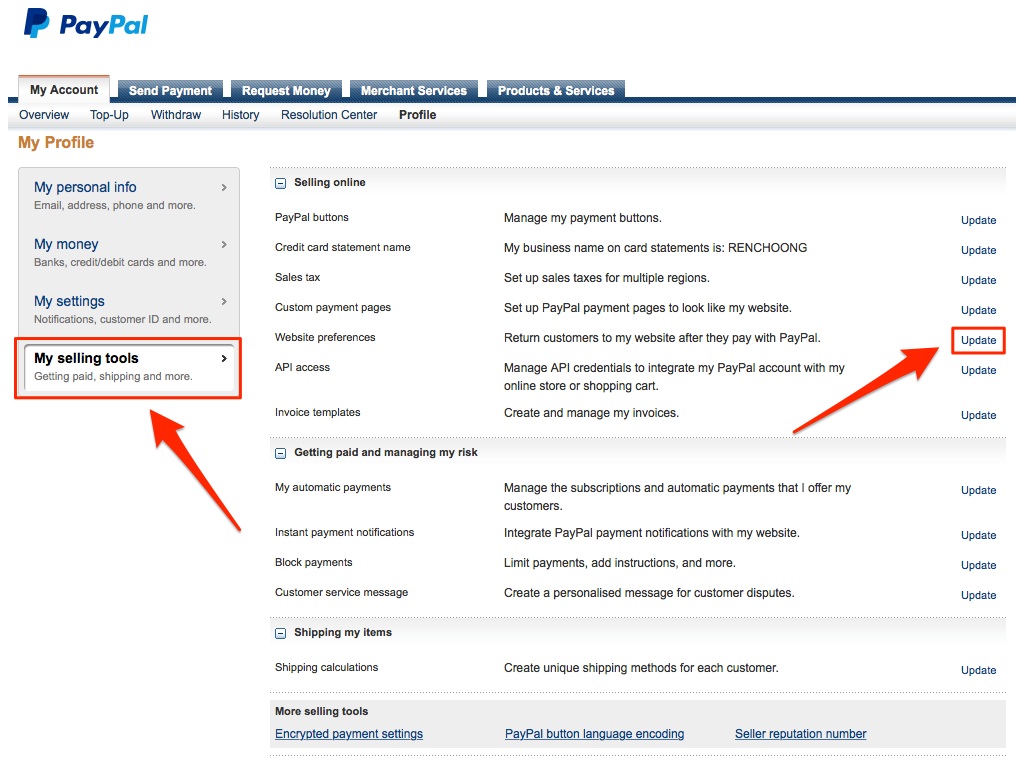
To setup your PayPal payment gateway, click on "Profile" in your account page.

Click My selling tools > Update in Website preferences.
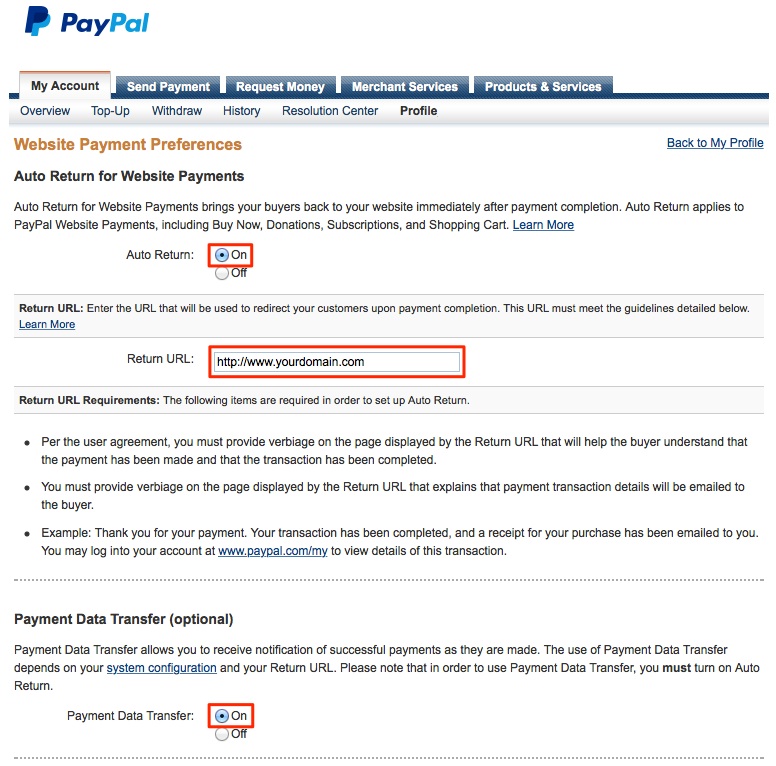
Apply the following settings in Website Payment Preferences page.
- AutoReturn: On
- Return URL: http://www.yourwebsite.com
- Payment Data Tranfer (PDT): On
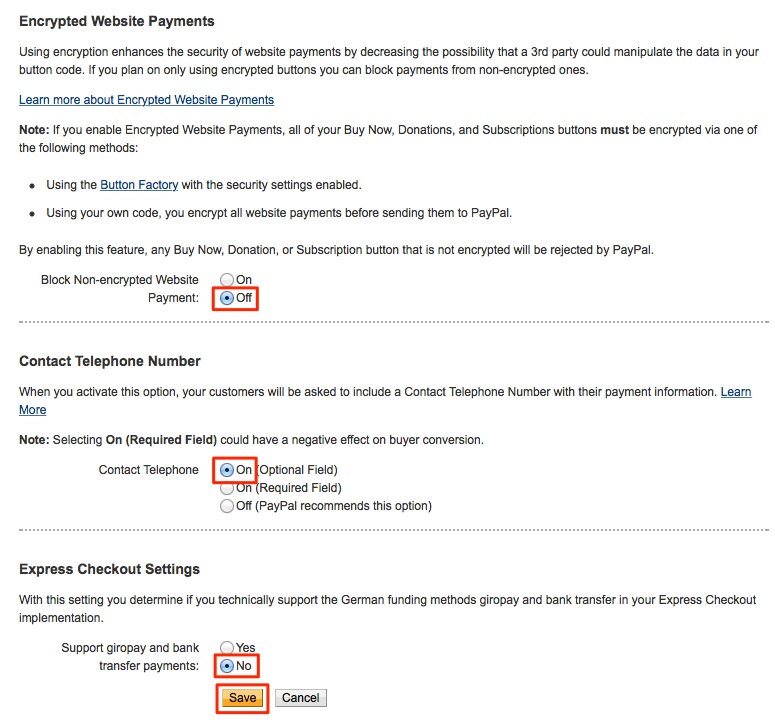
- Encrypted Website Payments: Off
- PayPal Account Optional: On
- Contact Telephone Number: On (Optional Field)
- Express Checkout Settings (Giropay): No
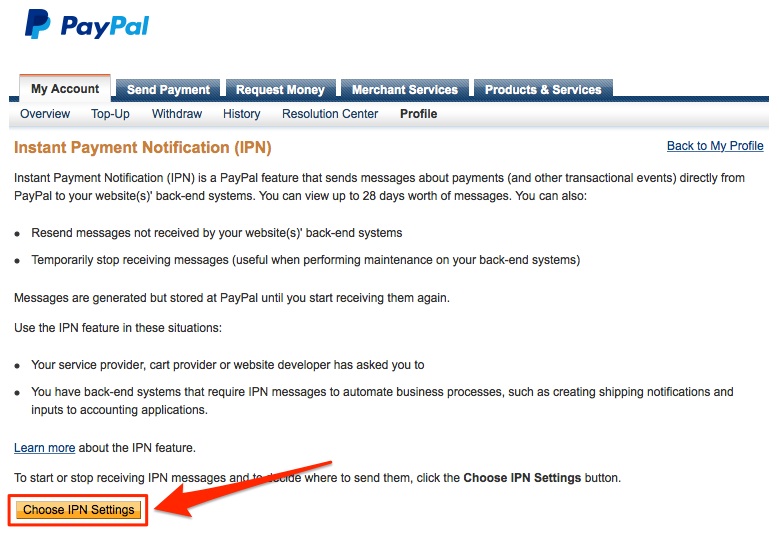
Click on Profile on top navigation again and then click Update link in Instant payment notifications.

On Instant Payment Notification (IPN) page, click on yellow Choose IPN Settings button.
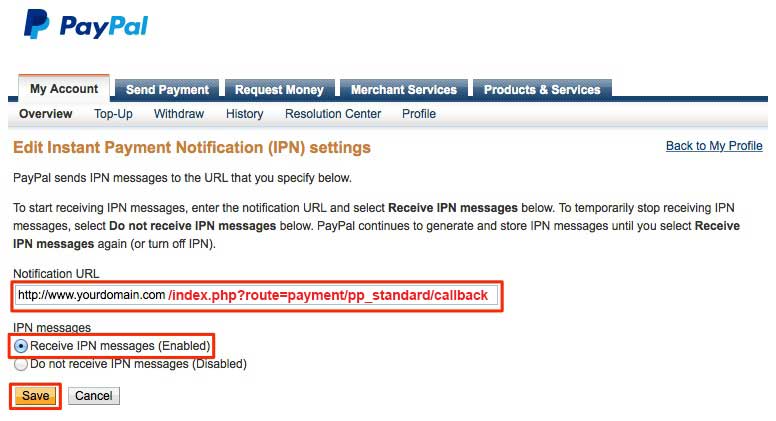
On Edit Instant Payment Notification (IPN) settings page, enter your website address in Notification URL field, and add "index.php?route=payment/pp_standard/callback" behind your website's address , select Receive IPN messages (Enabled) and click on yellow Save button.
Now that you've successfully setup your PayPal account, it's time to setup your store's payment gateway.
To setup your store's payment gateway, go to Settings > Payment.
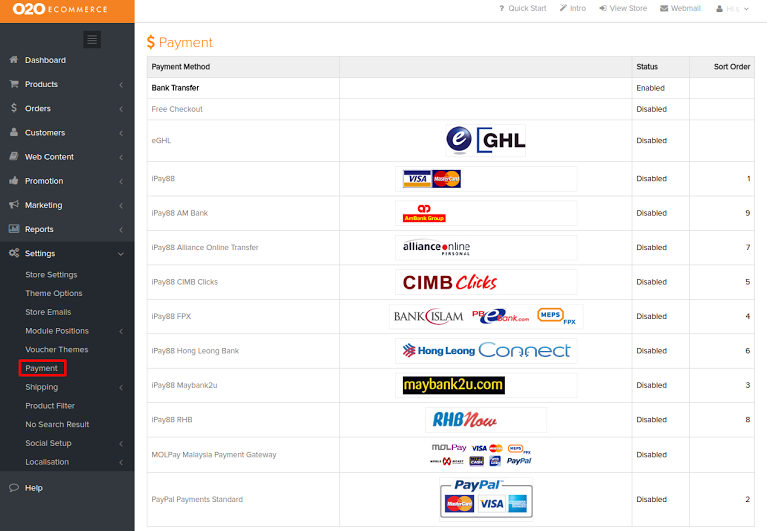
In the payment page, click on PayPal Payments.

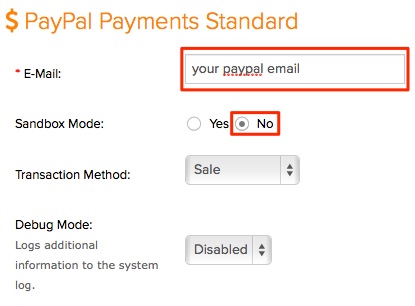
In this page, enter:
- PayPal E-mail
- Set Sandbox Mode to No
- Enable Status
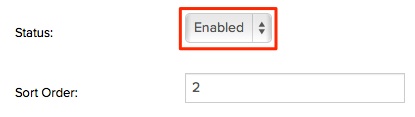
You've now successfully setup your PayPal Payment Gateway.
