Image Resizer (Resizing Images for Upload)
- Download Image Resizer for Windows from the link below and install it.
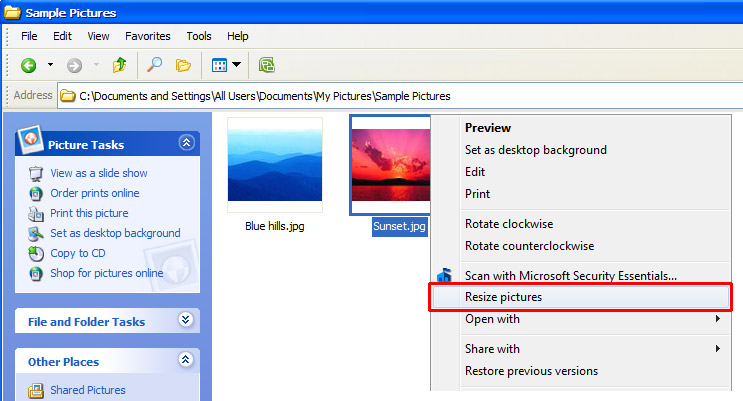
https://imageresizer.codeplex.com/ - When the installation is complete, right-click on the image file that needs to be resized and select Resize pictures option from the menu.
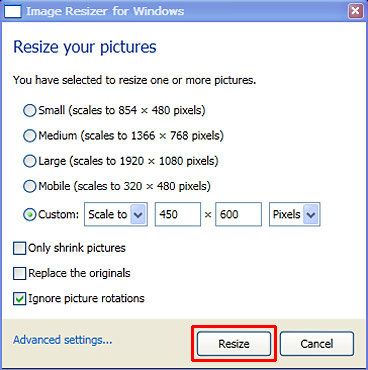
- On Image Resizer for Windows dialog box you can select one of five available resize options and then click on Resize button.
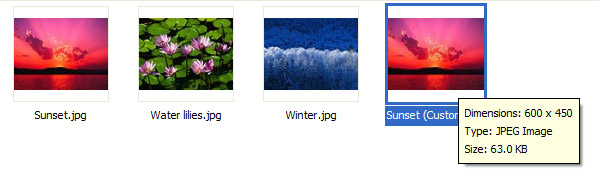
- A new resized image will appear as shown below. Rename the file if necessary. It is preferred that there are no white spaces in the filename. Now the image is ready to upload to your website.
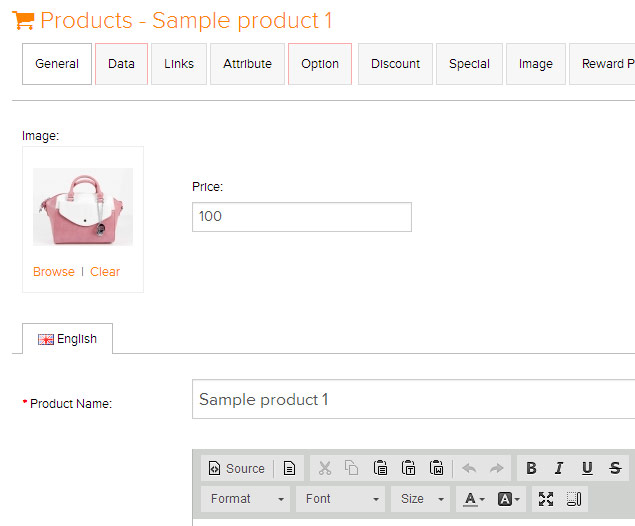
- From Admin Dashboard of your website, go to the page you need to display the image (for example, a product page). Then click Browse to access Image Manager.

- Click on Upload Image icon and upload the desired image. Then right-click on that image and select Select files option.
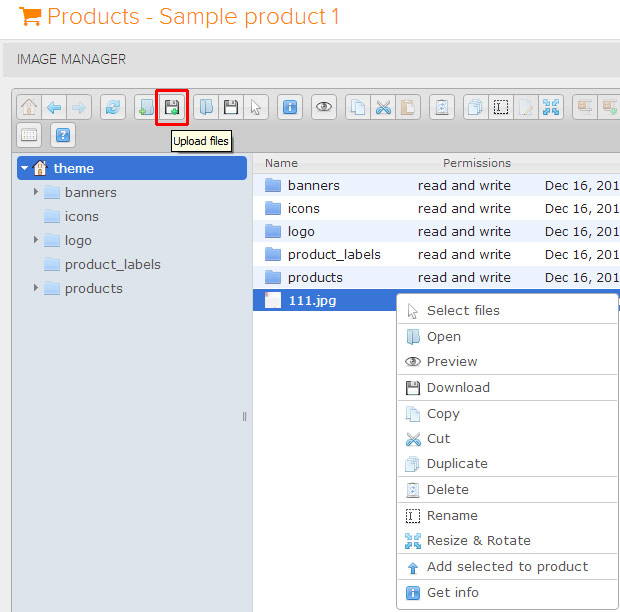
- The uploaded image will now be displayed as the product image. Click on orange Save button to save changes.
Was this answer helpful?
Powered by WHMCompleteSolution