Creating/Managing Your Email Accounts Through cPanel

This article describes procedures for Creating/ Managing Your Email Accounts Through Customer Service Portal


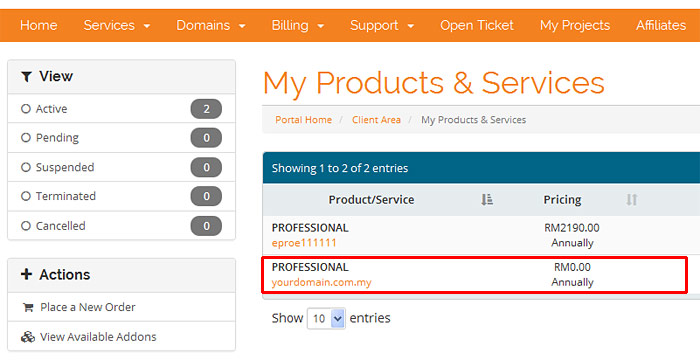
  1. Login to Customer Service Portal and click on Services option.
    Login to Customer Service Portal

  2. On My Products & Services page, click on the service that you want to create new email (yourdomain.com.my in this case).

    Click on the service you want to create new email

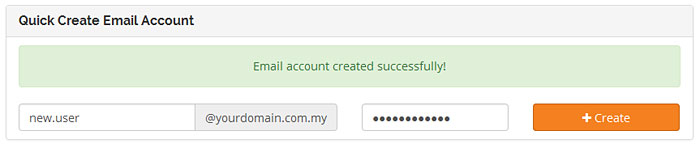
  3. On Product Details page, scroll down to Quick Create Email Account section. Then -

    • Enter the new email address you are creating
    • Enter a default password for it, and
    • Click on the orange Create button.


    Quick Create Email Account

  4. After this process, a green notification box should appear informing you that the new email account has been created successfully.

    Email Account Created Successfully

  5. All existing email accounts could be managed by clicking on Email Accounts icon under Quick Shortcuts section.

    Manage Existing Email Accounts

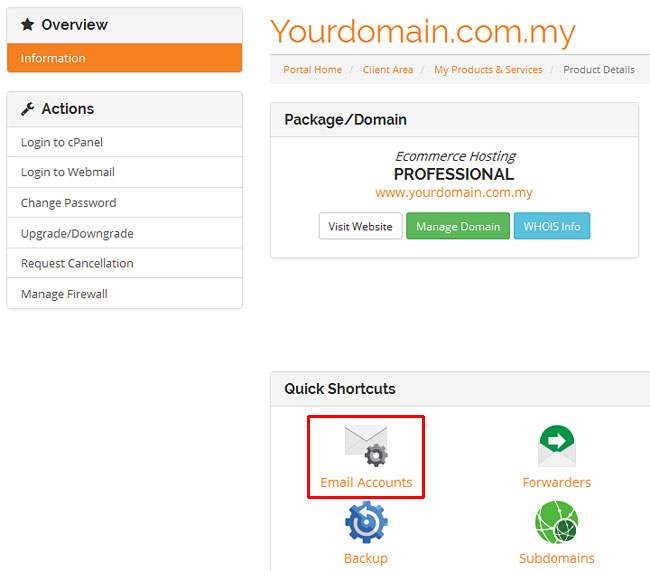
  6. In Email Accounts page, following operations could be done for existing email accounts.

    • Change password
    • Change storage quota
    • Configure mail client
    • Delete, or
    • Access Webmail


    Manage Existing Email Accounts

Was this answer helpful?

 Print this Article

Also Read

How to Pay Invoices in the Customer Service Portal

This tutorial will teach how to pay an invoice in the Customer Service Portal. The Customer...

How to Update Your Personal Details in the Customer Service Portal

This tutorial will now teach you how to update your personal details in the Customer Service...

AWStats Overview

The Awstats report gives details about the amount of people coming to your site, along with other...

How to Login to Customer Service Portal (Client Area)

To login to our Customer Service Portal, we begin to login at the Portal Home. http://cs.o2o.my...

How to Access cPanel Using Customer Service Portal (Client Area)

This article will demonstrate how to access cPanel by using Customer Service Portal. For more...

Powered by WHMCompleteSolution